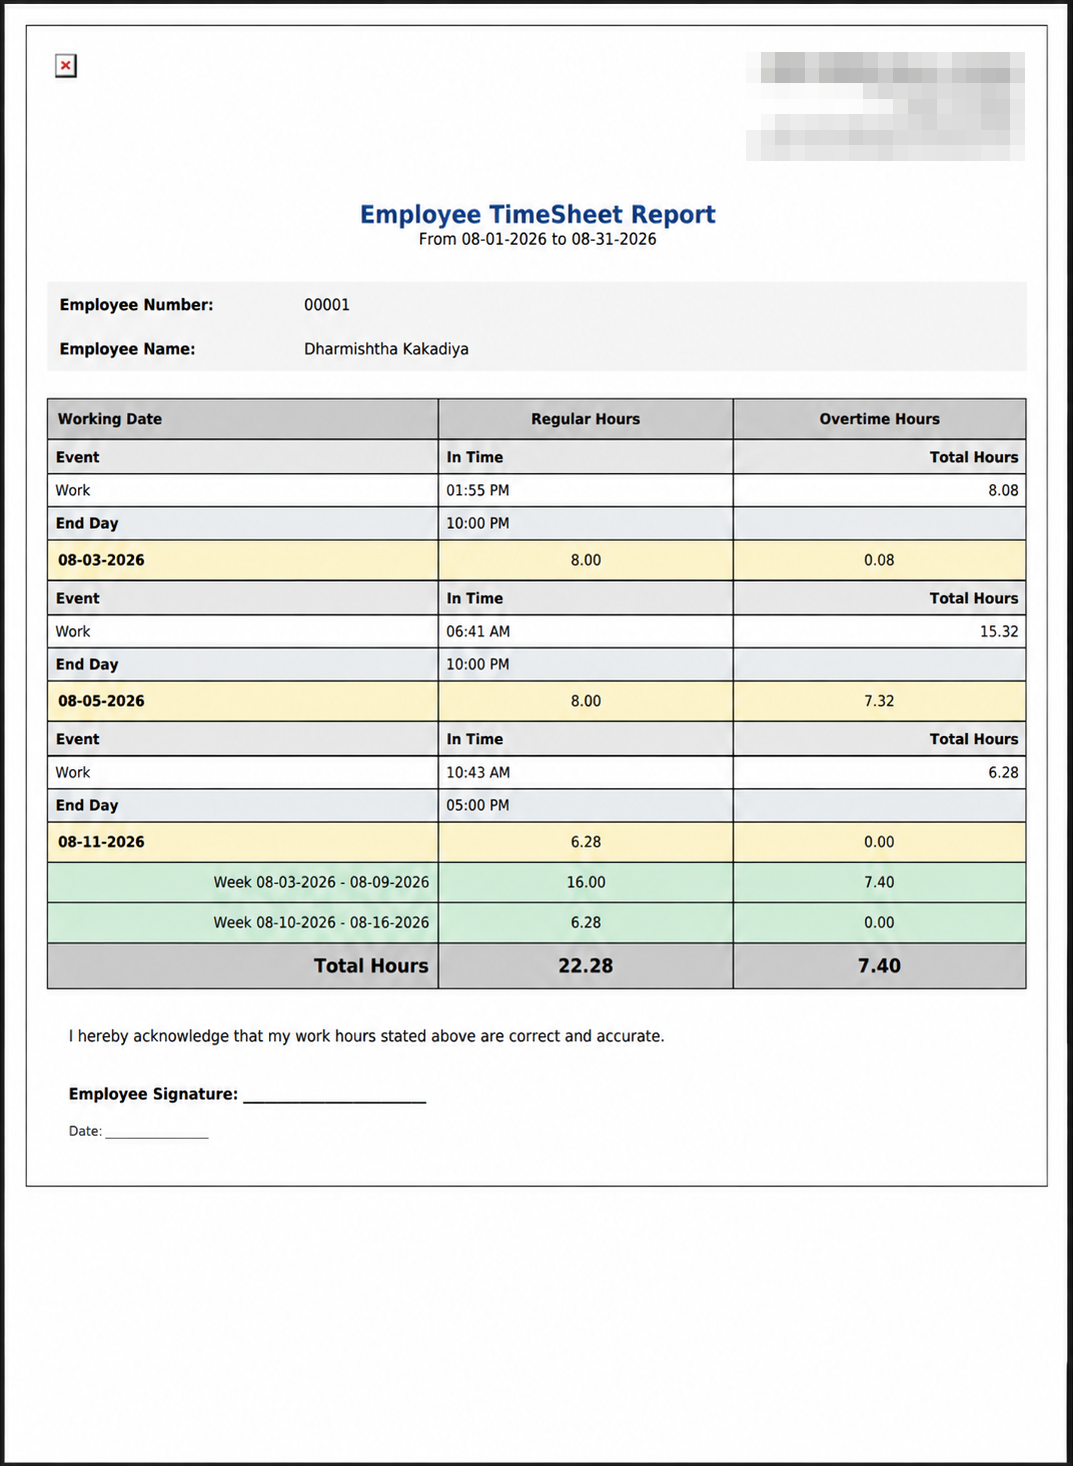
If a red note appears under the filters saying "Please choose a weekly date range (Sunday to Saturday)", take it seriously. It shows when your store works overtime out by the week rather than by the day, and it means the range you have picked is not a whole week. Overtime is only correct on this report when the range runs Sunday through Saturday, because a part-week cannot tell ARM whether the weekly limit was passed. Where your store works overtime out by the day, the note never appears and any range is fine.
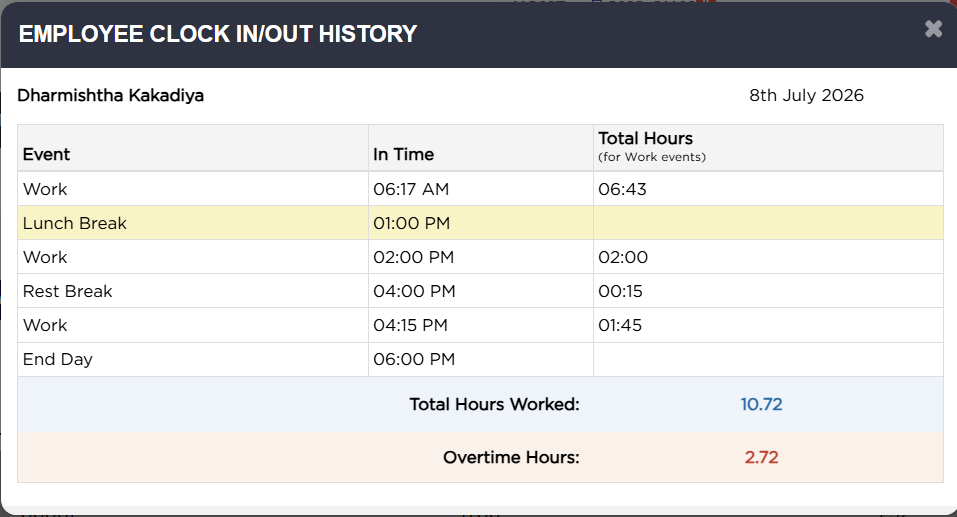
Each line shows the EMPLOYEE NAME, their EMPLOYEE NUMBER, the REGULAR HOURS and OVERTIME HOURS for that day, the WORK DATE itself, and any ADMIN NOTES left against it. An eye icon in the first column opens the day's clock events. The report does not print a total for the day — regular plus overtime gives it, and the same figure appears as Total Hours Worked in the clock events popup.
The row at the foot of the table is the totals row, though it does not look like one: it repeats the column headings and drops the two totals into the REGULAR HOURS and OVERTIME HOURS positions, so it reads as words with two numbers among them. Those two numbers are the regular and overtime hours added across every line. They add up the page you are looking at, not the whole report — where the list runs to several pages, paging forward changes them. The printed PDF covers the whole date range, so use it when you need a period total.
The employee list offers everyone on your employee master, including people no longer working for you, so it is possible to pick a name and get an empty report. The date box will not let you start earlier than the day your store's records begin. The REMOVE FROM FAVORITES switch beside the report title — ADD TO FAVORITES where you have not already done so — keeps a shortcut to the report under your favourites in the main Reports menu.